
Take payment at checkout
Updated Last verified against the product
In short
To take payment in Velarya, open the visit's checkout from the Front Desk, the Calendar or its transaction. Check the Total due, choose Card on file, Card, Card reader, Cash or Other under Payment Method, then take the payment. Checked out confirms it, with buttons to email or print the receipt.
- Who can do this
- Admins, Location Managers and Front Desk (Transactions / orders at Edit), at the visit's location. Charging a saved card also takes Cards on file at View, and saving a new card takes Add, which all three roles hold
- Applies to
- Each location separately
- Plans
- Basic, Scale, Branded and Connected
- Time
- 2 minutes
Before you begin
- The visit is booked: Book an appointment for a patient.
- To take cards, your practice has a payment account: Connect your payment account. Cash and Other work with or without one.
Take a payment at checkout
The Velarya Checkout panel is where your front desk takes payment for a visit. It opens from four places, all to the same panel:
- Front Desk: move the card to Completed, or select Mark Completed or Open Checkout in the appointment’s panel.
- Calendar: open the appointment and select Open Checkout once it is completed.
- Transactions: open the sale and select Collect payment.
- Before the visit ends: Apply payment in the ⋯ menu of the appointment’s panel.
- Open the visit’s checkout. The panel shows the patient, the treatments and the provider, with the Total due at the top.
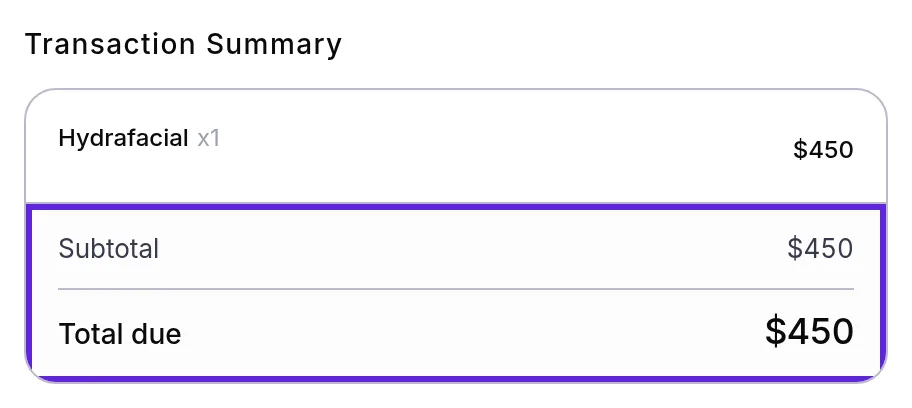
- Check the Transaction Summary: each treatment, the Subtotal and the Total due. Vouchers and wallet credit go on here before you take payment, as Redeem a voucher at checkout shows. A discount on the visit shows as its own line, as Apply a discount at checkout explains.
-
Under Payment Method, choose how the patient pays:
- Card on file: select one of the patient’s saved cards. The tab is grayed out when they have none.
- Card: select Enter new card details and type the patient’s card.
- Card reader: choose a reader that shows Online. To keep the card for later, select Save this card for later charges and read the patient the terms that appear under it. Then select The client agreed to these terms out loud or in writing.
- Cash: add a reference note if you like, such as a receipt number.
- Other: note how the money came in, such as a check or a bank transfer.
-
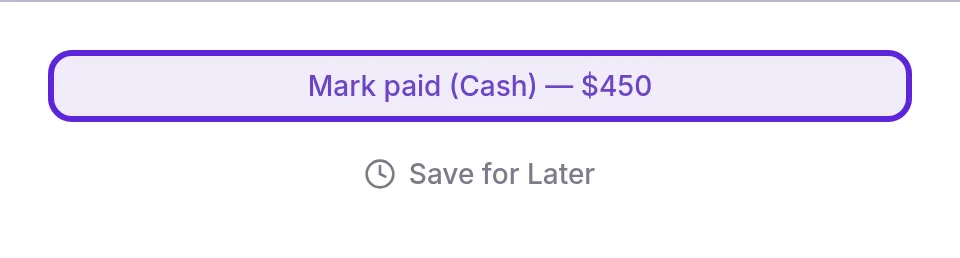
Select the button at the bottom, which shows the amount. It reads Mark paid (Cash) or Mark paid (Other), Charge on reader, or Charge with the card’s last four digits. For a saved card, select it again when it reads Confirm charge. For a new card, select the button under the card form, for example “Pay $450 with new card”.
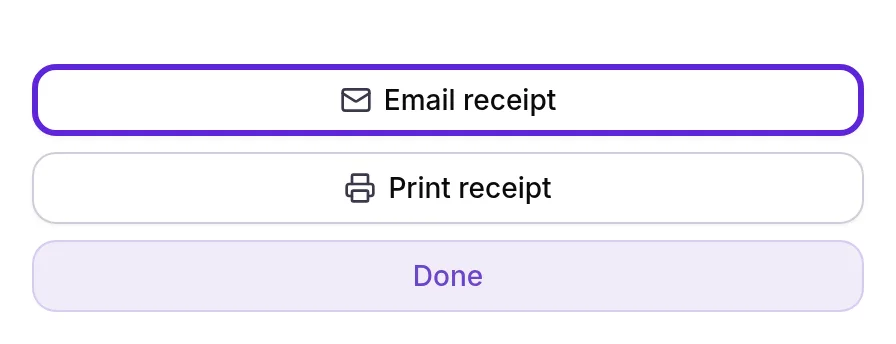
- “Payment successful!” appears, then Checked out with the patient’s name and the amount settled. Select Email receipt or Print receipt, then Done.
On the Front Desk, the visit’s card shows a check mark in Completed, and in Transactions the sale reads Paid. To sell without a booking, use Transactions > New Transaction instead.
Split a payment across methods
Split payment in the Velarya checkout panel takes one visit’s total in parts, for example some in cash and the rest on the patient’s card on file.
- Select Split payment next to Payment Method.
- For each part, choose Card on file, Cash or Other, and enter its amount.
- Check the line under the amounts. It reads “Amounts match the total due.” once they add up to the Total due, and shows how much you have entered until then.
- Select Charge split with the total. Velarya charges any card on file part right away and records the rest.
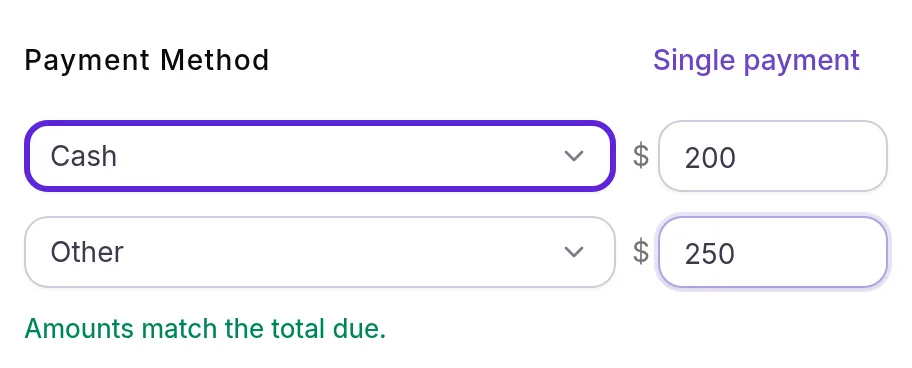
Single payment returns to one method. With a card on file part, select the card from the list that appears under the amounts.
Collect the balance after a deposit
When a patient paid a deposit as they booked, the Velarya checkout panel collects only what is left. A note reads “Deposit … paid at booking”, followed by the balance it is collecting, and the Total due is the balance. A discount you apply before collecting lowers the balance, as long as the total stays at or above the deposit already paid, as Apply a discount at checkout explains. Take it by Card on file, Card reader, Cash or Other. “Balance collected” confirms it, or “Payment successful!” at a card reader, and the sale moves from Balance due to Paid in full in Transactions.
You can also collect a balance without opening checkout:
- In the appointment’s panel, open the ⋯ menu and choose the collect item that shows the balance, such as “Collect $90.00 balance”. Pick Charge card on file, Cash collected at venue or Other (terminal / check) as the Payment method, then select the Collect button with the amount.
- In Transactions, open the sale and select Collect balance, or use the row’s menu: Charge balance to card on file, Mark balance collected (cash) or Mark balance collected (other).
Set up deposits and cancellation fees covers when patients pay a deposit.
Save a checkout for later
Save for Later at the bottom of the Velarya checkout panel keeps an unpaid checkout so you can finish it later, for example while the patient books their next visit. “Saved as draft” appears, and the visit’s card on the Front Desk shows Parked.
- To pick it up from the Front Desk, select the card, then Open Checkout.
- In Transactions, find it under the Drafts status filter. The draft stays out of your revenue and totals until it is paid.
What do patients see?
Patients see the payment in Velarya as a receipt from your practice and as a visit in the patient app.
- The receipt email. Email receipt at checkout, or Send receipt on the sale later, sends “Your receipt from” your practice’s name, confirming the payment and its amount, with a View your receipt button. It goes to the email address on the patient’s profile.
- The printed receipt. Print receipt opens a copy with your practice’s details, each treatment, the payment method and the total.
- The patient app. The visit appears under Recent activity on the patient’s Home tab. Opening it shows its services, the Payment Method, the Total and the Points Earned. Paying the sale is what earns the points, as How points work explains.
How does checkout behave?
The Velarya checkout panel follows these rules:
| Situation | What Velarya does |
|---|---|
| The bill has a Service fees line | Waive takes it off this sale only, and Undo puts it back. How payments work explains the fee |
| The visit was paid when the patient booked | Shows Paid with the method, and Complete & Close finishes the checkout |
| A voucher covers the whole visit | The button reads Confirm redemption, and nothing is charged |
| Nothing is left to pay | The button reads Complete & Close with a zero amount |
| A deposit was paid | Collects the balance only |
| Two people check out the same visit at once | The first payment goes through; the second person sees “Order is already paid”, or “Order is already paid or a charge is in progress” while the first charge is still running |
| A reader charge is declined or cancelled | Nothing is charged and the visit stays due. Try another card or method |
| A completed visit is paid | The appointment moves to checked out, and its Front Desk card locks in Completed with a check mark |
| Your team booked the visit and it has not been paid | It stays on the calendar, unpaid, until checkout |
A card saved at one location belongs to that location’s payment account, as How payments work explains.
If something goes wrong
“This client has no saved card. Use Card, Cash, or Other.” The patient has no card on file with this location’s payment account. Take the payment with Card, which saves the card for next time, or with a card reader, cash or another method.
A saved card is refused with the bank’s message, such as “Your card was declined.”, or with “Card charge did not succeed” or “Card requires additional authentication”. The patient’s bank declined the card, or wants the patient to confirm the payment themselves. Ask for another card and use Card or a card reader, or take another method.
The Charge split button reads “Split must equal” and the total. The amounts don’t add up to the Total due yet. Change them until the line under them reads “Amounts match the total due.”
“Payment total … does not match amount due”. The total changed while the panel was open, for example after an edit at another desk. Close the panel, open checkout again and retry.
“Order is already paid” or “Order is already paid or a charge is in progress”. Someone else has already taken this payment, or is charging the visit right now. Wait a moment, then open the sale in Transactions to check its status before charging again.
The card reader button reads “Pair a card reader first” or “No reader is online”. No reader is paired with this location, or it is switched off or offline. An Admin or Location Manager pairs one in Manage > Card Readers. Otherwise, turn the reader on and wait for Online.
“Client has no email on file”. The patient’s profile has no email address. Select Print receipt instead, or add the email to their profile and send the receipt from the sale with More actions > Send receipt.
“Link a client first to charge a new card.” The sale has no patient, so there is no one to save the card for. Take the payment by card reader, cash or another method.
There is no Collect payment button on a sale. The button shows on a sale with something left to pay, and not on a paid, reversed or draft sale. Your role also needs Transactions / orders at edit at the sale’s location, which the Admin, Location Manager and Front Desk roles hold. Ask an Admin to update your role or locations.
Frequently asked questions
Was this guide helpful?
Last verified
What changed
- : Collecting a deposit balance now covers discounts: one applied before you collect lowers the balance, as long as the total stays at or above the deposit already paid.