
Create a form or chart template
Updated Last verified against the product
In short
In Velarya, you build forms and charts in Organization settings > Forms & Charts. Select New template, start from a starter such as New Client Intake or SOAP Note or from a blank form or chart, add and arrange its fields, choose which services and locations it applies to and when a form goes out, then select Publish.
- Who can do this
- Admins (Form & chart template builder at manage)
- Applies to
- Your whole practice, every location
- Plans
- Scale, Branded and Connected
- Time
- 10 minutes
Start a new template
A form or chart template in Velarya starts in Forms & Charts, from a blank canvas or from one of five starters. A form is filled by the patient and a chart by your staff; How forms and charts work explains the difference.
- Open the menu at the bottom of the left sidebar and select Organization settings, then Forms & Charts under Client Experience.
- Select New template. The New template dialog opens: “Start from a blank canvas or a ready-made starter.”
- Select Blank form, Blank chart or a starter. Velarya creates the template as a draft and opens it in the builder.
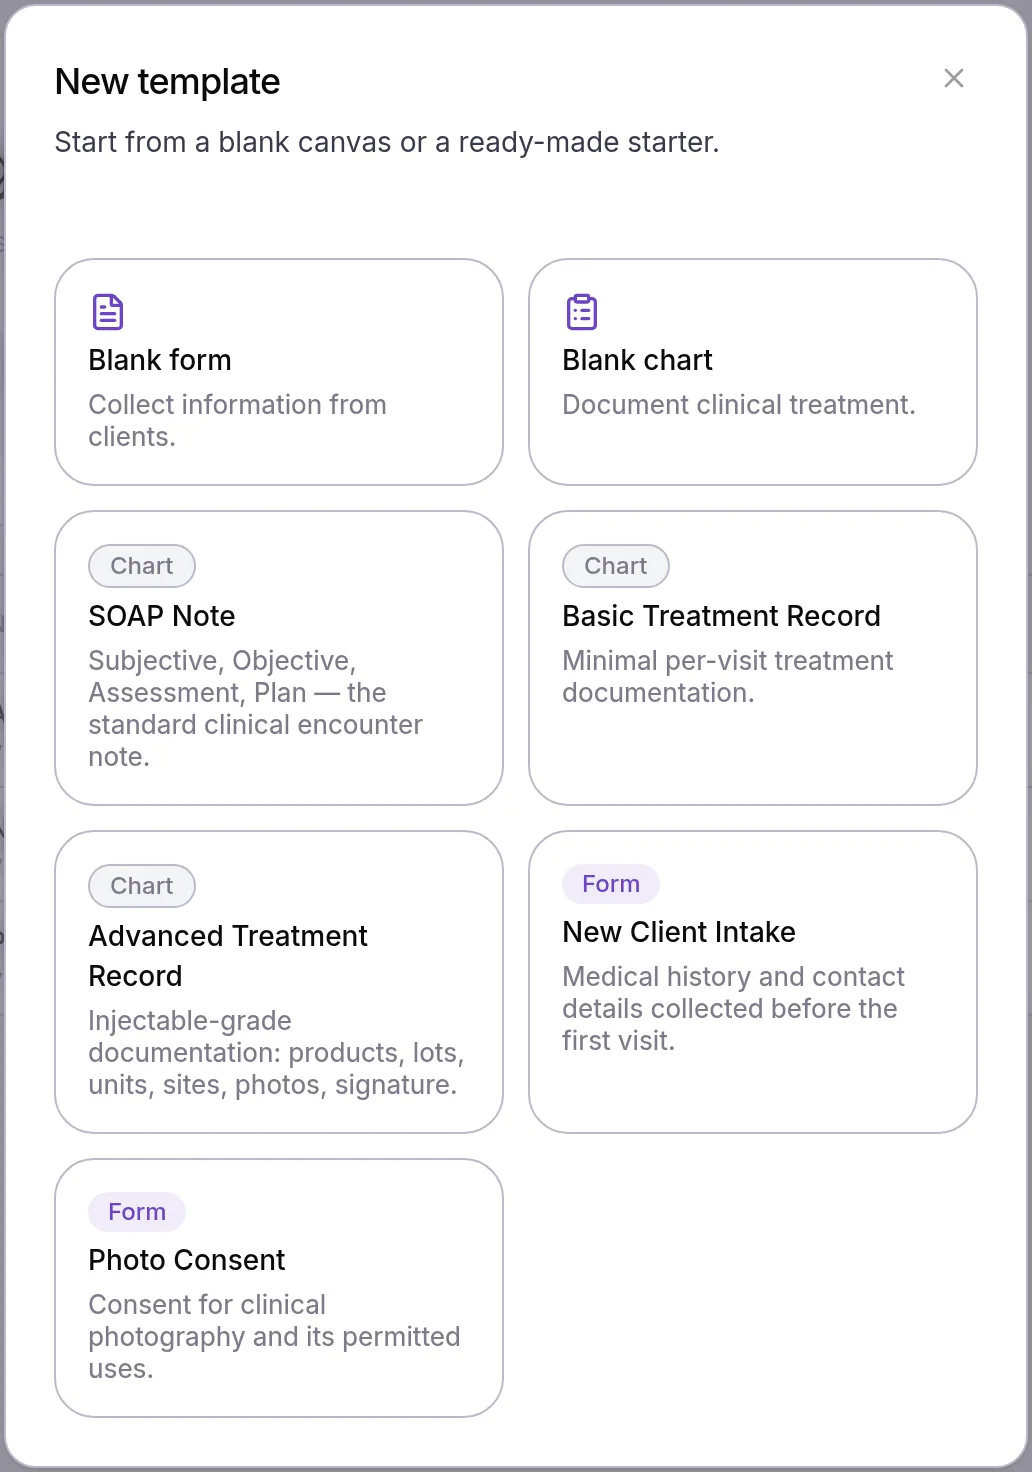
| Starter | Type | What it holds |
|---|---|---|
| New Client Intake | Form | Allergies, medications, medical conditions, pregnancy, prior treatments, goals, an acknowledgement and a signature |
| Photo Consent | Form | Consent to clinical photography, a choice about marketing use, and a signature |
| SOAP Note | Chart | Subjective, Objective, Assessment and Plan, and the provider’s signature |
| Basic Treatment Record | Chart | Treatment performed, areas, device settings, notes and photos |
| Advanced Treatment Record | Chart | Indication and consent review, products used, photos, aftercare, tolerance, notes and the provider’s signature, with sign-off on |
Every starter is yours to change. Its questions are ordinary fields you can rename, reorder or remove.
Build the fields
The builder shows the template as the patient or provider will see it, on a page headed with its name.
- Type the template’s name in the box at the top. A blank template starts as “Untitled form” or “Untitled chart”.
- Hover between two fields and select the plus button, or select Add component under the last one, then pick a component. Search the list by name.
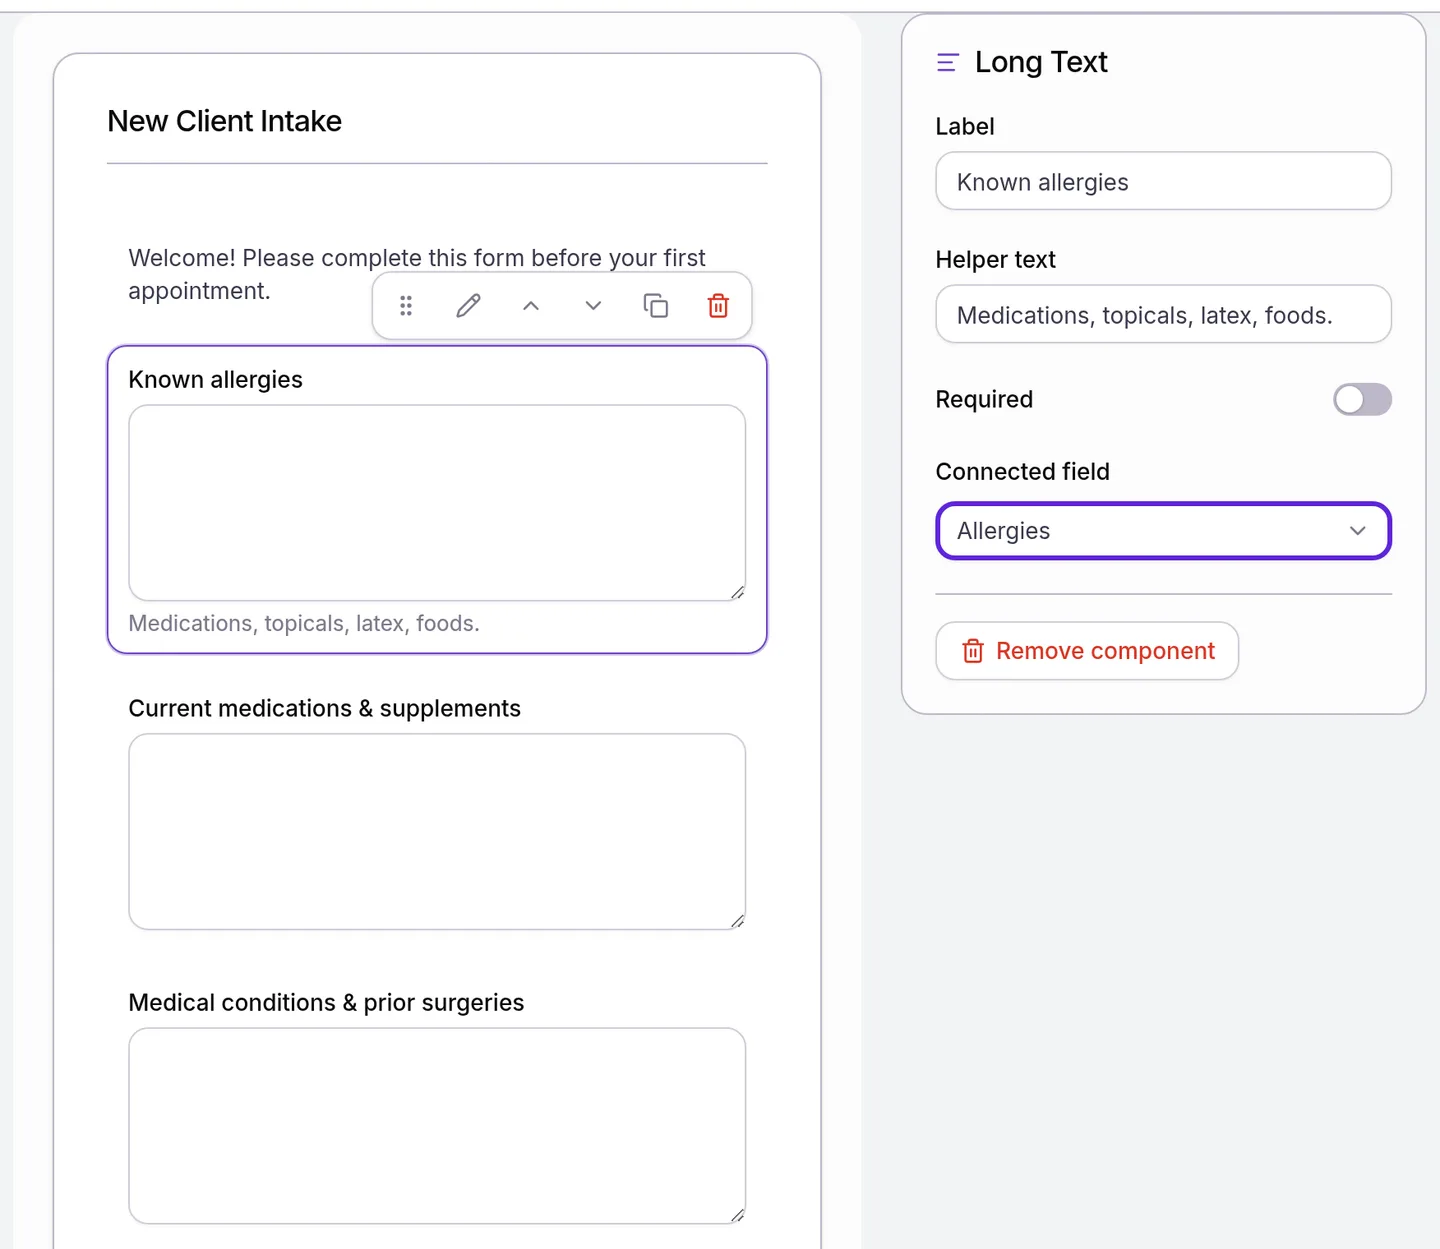
- Select a field to edit it in the panel on the right: Label, Helper text, Required, its Options (with Add option) and its Connected field. For a Logo or Image, upload a PNG or JPEG of up to 5MB under Image.
- Double-click a field’s text to rename it in place. The toolbar on each field moves, duplicates or removes it, and you can drag it by its handle.
- Select Preview to fill the template yourself, and the phone button to see it at the width of a patient’s phone. Clear responses empties your test answers.
- Select Save draft. You see “Draft saved”.
| Group | Components |
|---|---|
| Content | Paragraph, Divider |
| Inputs | Text Input, Long Text, Checkboxes, Multiple Choice, Dropdown, Date, Signature |
| Media | Logo, Image, and on charts Photo Upload |
| Clinical | On charts, Product Usage: product, quantity, unit, lot number, expiry date and site |
Photo Upload and Product Usage are chart components your staff fill during the visit.
A connected field copies the answer into the patient’s record when the form or chart is submitted. Text, long text, date, dropdown, multiple choice and checkbox fields can connect to Allergies, Medications, Medical Conditions, Date of Birth or Address, and on a chart also to First Name, Last Name, Email or Phone. Sex at Birth connects to a Multiple Choice or Dropdown question with the options Female, Male, Intersex and Unspecified. On a chart, fields connected to the medical record start filled with what it already holds.
Which bookings get a form?
Services and Locations on the Settings tab decide which bookings send a form, and on which visits Start chart offers a chart: those for its services at its locations. A new template applies to every service and every location until you choose specific ones.
- Select the Settings tab.
- Under Services, choose Specific services or Specific categories in Applies to. A category covers every service in it, including services you add to it later.
- Select Browse, tick the services or categories, and select Done.
- Under Locations, select Browse, tick the locations, and select Done.
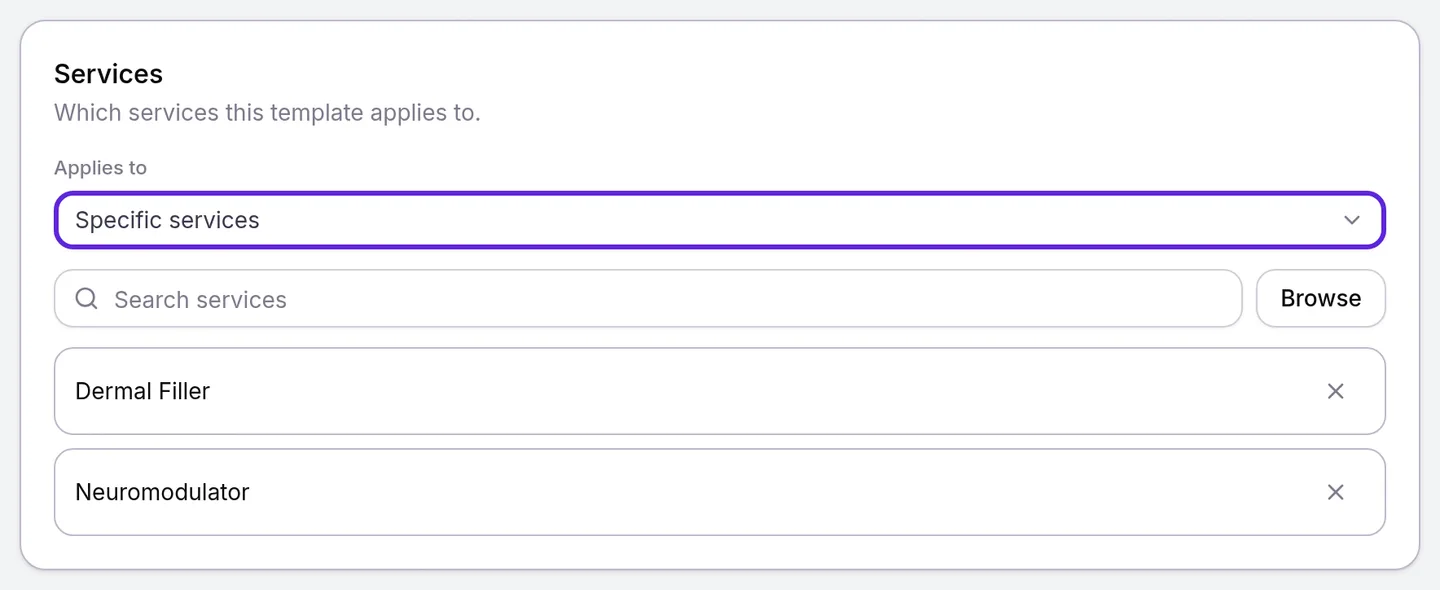
To put the template back on every booking, choose All services in Applies to, or All locations under Locations, and select Save draft.
Set how often and when patients get a form
A form template’s Frequency and Delivery cards decide how often a patient fills it and when Velarya sends it. A new form, starters included, has Collect on Every appointment and every Delivery switch off, so it goes out with no booking until you turn one on.
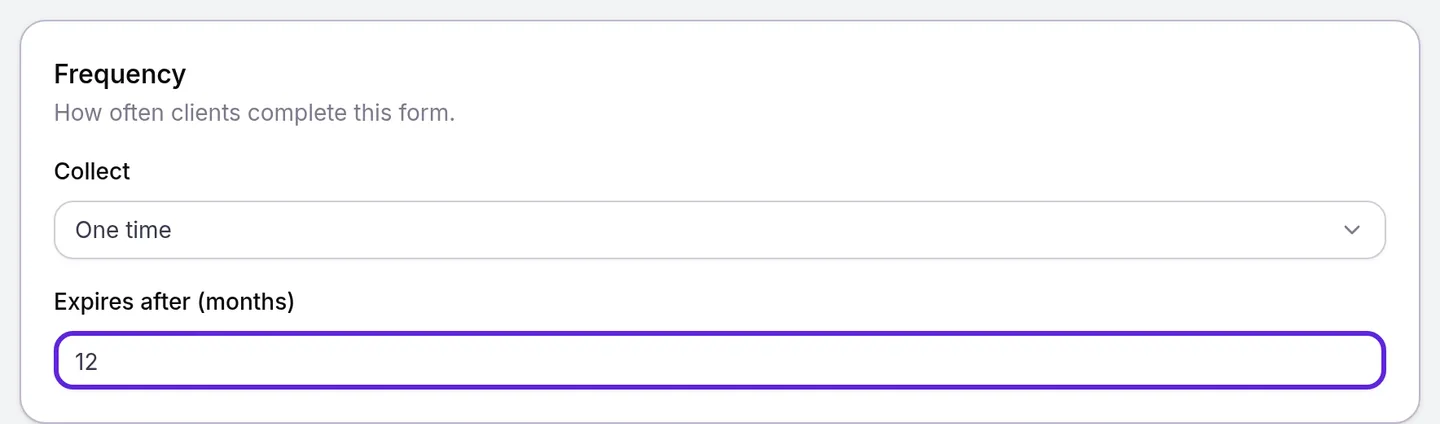
- Under Frequency, set Collect to Every appointment for a new copy each visit, or One time for a form each patient fills once.
- For a One time form, type a number of months in Expires after (months), from 1 to 120, to ask for it again after that long. Leave it empty, where it reads “Never”, to keep the first copy for good.
- Under Delivery, turn on each moment the form should go out: Send with confirmation as soon as the appointment is booked, Send with reminder with every appointment reminder, and Send same day with the appointment reminders that go out on the day of the visit. Any combination works, and each switch sends on its own.
- Select Save draft.
What the patient receives at each moment is in Send intake and consent forms to patients.
Require sign-off on a chart
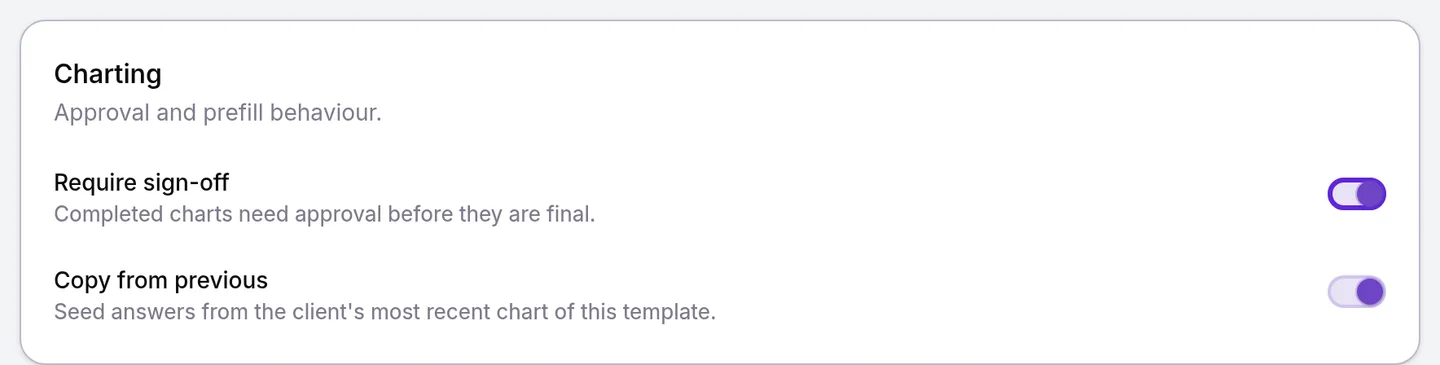
A chart template’s Charting card sets review and prefill.
- Open the chart template and select the Settings tab.
- Turn on Require sign-off: “Completed charts need approval before they are final.” A chart completed on it waits in Needs review until someone with Approve & sign off charts approves it. A chart completed by an Admin, or by a role with Submit without reviewer approval, skips review and is completed at once, and the audit log records it.
- Turn on Copy from previous to let a provider start from the patient’s last completed chart of this template. Signatures are never copied, so each chart is signed by the provider who completes it.
- Select Save draft. The two switches reach new charts once you publish the template, as the next section shows.
Publish the template
A template reaches patients and providers once it is published.
- Select Publish at the top right of the builder.
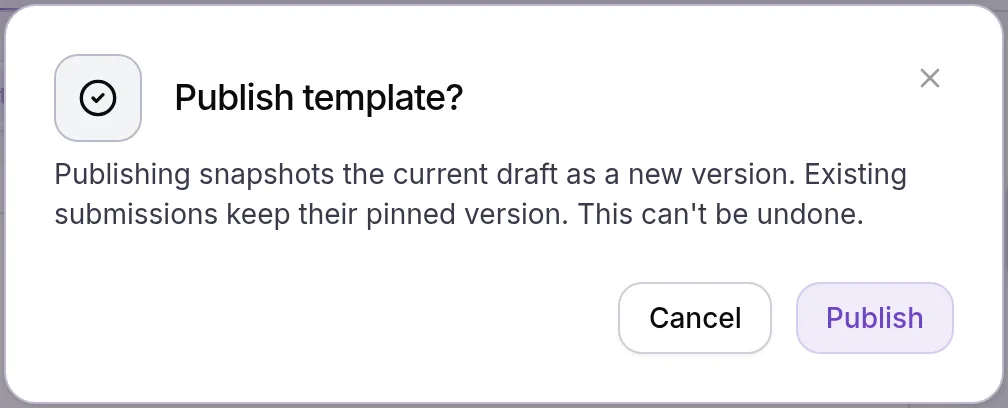
- Read Publish template?: “Publishing snapshots the current draft as a new version. Existing submissions keep their pinned version. This can’t be undone.”
- Select Publish. You see “Template published”, and the badge next to the name reads Published.
Back on the Forms & Charts list, the row menu on each template has Edit and Duplicate, plus Publish on a draft, Disable on a published template, Enable on a disabled one and Delete on a draft.
What do patients see?
Patients see a form, never a chart. A published form reaches them as a link by email, and by text once they agree to texts. The link opens a page with your practice’s logo and name, then the fields in the order you built them, and ends with Submit form. A field you marked Required needs an answer first, and a Signature lets them draw or type their name. Preview at phone width shows what they get. When the link goes out, and how to resend it, is in Send intake and consent forms to patients.
How do templates behave?
| Situation | What Velarya does |
|---|---|
| You edit and save a published template | Patients and providers keep getting the published version until you select Publish again, which makes the next version |
| You change the Settings tab and save | The change applies at once, to new bookings and to forms not yet finished. Require sign-off and Copy from previous take effect with the next Publish, and a chart keeps the rule of the version it started on |
| A form or chart was started on an earlier version | It keeps that version for good |
| You select Duplicate | A draft copy with “(Copy)” after the original’s name, and the same fields and settings |
| You select Delete on a draft | Delete template?: “This draft template will be permanently removed.” Select Delete and it leaves the list. A published template has Disable in its place |
| A form is submitted with a connected field answered | The answer replaces what the patient’s record holds. A blank answer never erases it |
| Two fields connect to the same record field | Publishing is refused until one is changed |
| A chart template is published | Start chart offers it on visits for its services at its locations, alongside charts set to all |
If something goes wrong
Publishing is refused with a reason. Velarya names what to fix, in the builder and on the row menu’s Publish: add at least one field, keep one field per record field (for example Allergies), or set Expires after (months) to a whole number from 1 to 120. Fix it and select Publish again.
“Couldn’t save draft”. The template needs a name, and Expires after (months) takes a whole number from 1 to 120, or nothing.
A chart template is missing from Start chart. Start chart lists the published chart templates whose services and locations match the visit, plus those set to all. Publish the draft, select Enable on a disabled one, or add the visit’s service and location on its Settings tab.
A form is not reaching patients. Check that it is published, that a Delivery switch is on, that its services and locations match the booking, and, for a One time form, that the patient has not already completed a copy that is still current. Send intake and consent forms to patients walks through the rest.
“You don’t have permission to manage forms & charts. Contact your Admin.” Your role holds Form & chart template builder at view or not at all. An Admin can give a custom role manage on it in Roles & Permissions.
Frequently asked questions
Was this guide helpful?
Last verified